Read and Write

1. Setting the exposure using the histogram

The camera’s LCD screen might be a good way to tell if what you’re doing is right, but it’s not entirely reliable in conditions like harsh sunlight. The best way to tell if your exposure is correct is by consulting the histogram. Learn how to read it and make the necessary adjustments and until it indicates a proper exposure.

2. RAW

Most cameras produce high quality jpgs, yet they’re still no match for RAW files. The downside to the jpg format is that it’s a compressed file. Not all the information that should be there is present. Color, contrast and detail are all affected by this compression. To put simpler, shooting in RAW format will give you access to the full capabilities of your camera.

3. Selecting focusing points manually

Your camera has the option of selecting the autofocus points for you, but it can’t always anticipate correctly. That’s why learning to change the AF points manually is a useful skill. It will improve focusing accuracy and reduce chances of missing important shots.

4. Learn all AF modes

Most cameras come with different autofocus modes like One-shot AF, Servo AF and AI Autofocus. All of these modes have different uses, depending on subject and situation.

The one-shot mode will stop refocusing once it’s locked onto the subject. It will remain locked as long as you hold your finger on the shutter release, half pressed.

AI- Servo AF mode won’t lock the focus and it will constantly refocus. It is a great focusing mode for sports and other fast moving subjects.

AI focus will automatically from one -shot to Servo if it detects movement in the frame.

This is a very brief explanation of AF modes. It’s best to read your camera’s manual and to experiment with all of them.


5. Aperture Priority


In aperture priority mode, your camera will vary the exposure settings depending on the aperture value you set. Having complete control over aperture means control over depth of field. This is a great setting for shooting portraits with a blurred background.

6. Shutter Priority


The shutter priority mode works just like aperture priority, in the sense that it gives you complete control over shutter speed while making all the other settings automatically, according to the selected value. This is a great setting for situations where you don’t want the shutter speed to go over or under a specific value. Fast moving subjects can be shot in this mode, but it’s also very useful for low light situations where you don’t want the shutter speed to be slower than what you can use to shoot hand held.

7. Control motion blur

Motion blur often comes from using a shutter speed that is too slow for holding the camera in your hands. Every photographer has a maximum low speed they can use. For some it’s 1/60th, but others can shoot hand held at 1/8th. It’s a question of practice. Learn what the lowest speed is for you and stick to it for motion free images.

8. Manual White Balance

All digital cameras have a few white balance presets. While they can do a fairly decent job, we recommend learning to set white balance manually, according to each lighting situation.

9. Drive Modes

This isn’t a major setting, but you never know when you’re going to have drive modes. Essentially, there are three of them: single shot, continuous low and continuous high.

The first mode obviously allows you to shoot one frame at a time. It great for studio work or when shooting anything you have complete control over. CL is great for portraits when you have an expressive model and don’t want to miss any interesting faces. CH is the shooting mode for sports, wildlife and anything that moves fast.

9. Metering modes


There are three metering modes in most cameras, each with a specific job. They have different names depending on camera manufacturer, but essentially they behave the same. The best way to master metering modes is to start by reading the camera manual. After that, photograph the same scene using all three modes and compare the results.

10. ISO

Learn how to select the correct ISO value depending on the lighting conditions. Lower values are great when there is plenty of light to work with. Higher ISO values are needed for working in low light. Just keep the noise levels in mind.

11. Auto-ISO

We’re generally not fond of any auto setting, but auto ISO will help you when shooting hand held. It will increase or decrease the value in order to allow you to shoot with a shutter speed fast enough for hand held operation.

12. Exposure compensation

It is a +/- scale that will tell your camera to increase or decrease exposure, depending on your needs. It works for all semi-automatic modes (P, Av, TV) and will influence exposure in increments. Be careful not to set it too high or low from the first attempt and instead try to get to a correct exposure gradually.

13. Manual exposure

The last stage of learning how to use your camera’s settings is full manual control. You can’t call yourself a real photographer until you’ve learned to control every little setting on your camera. Only then will you be able to use it at its full potential.
CANDID MOMENTS

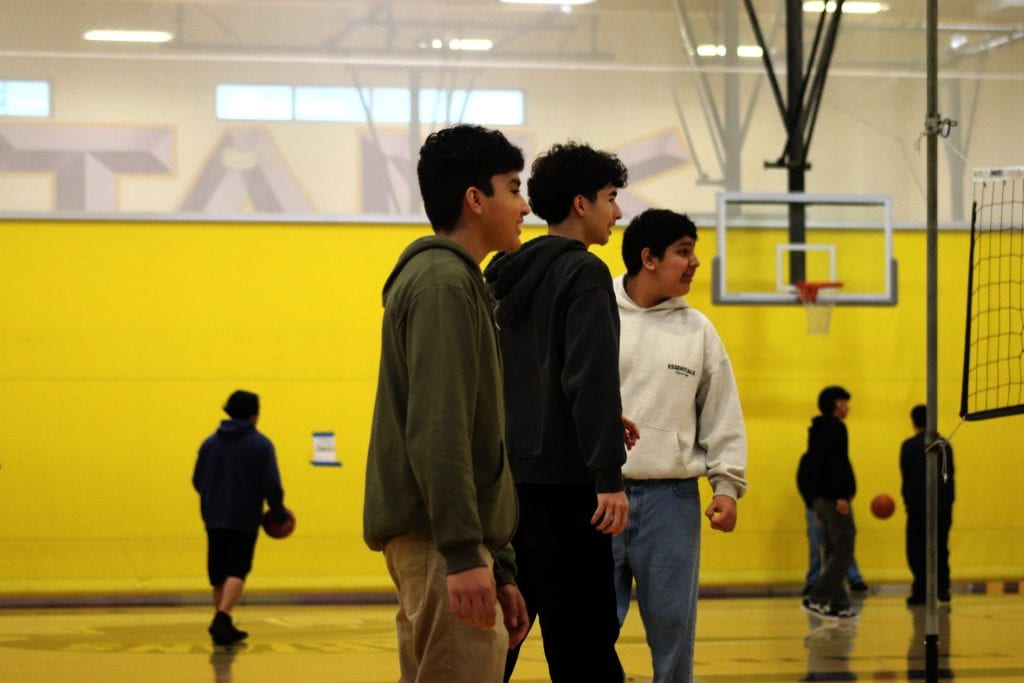
Three boys playing volleyball.

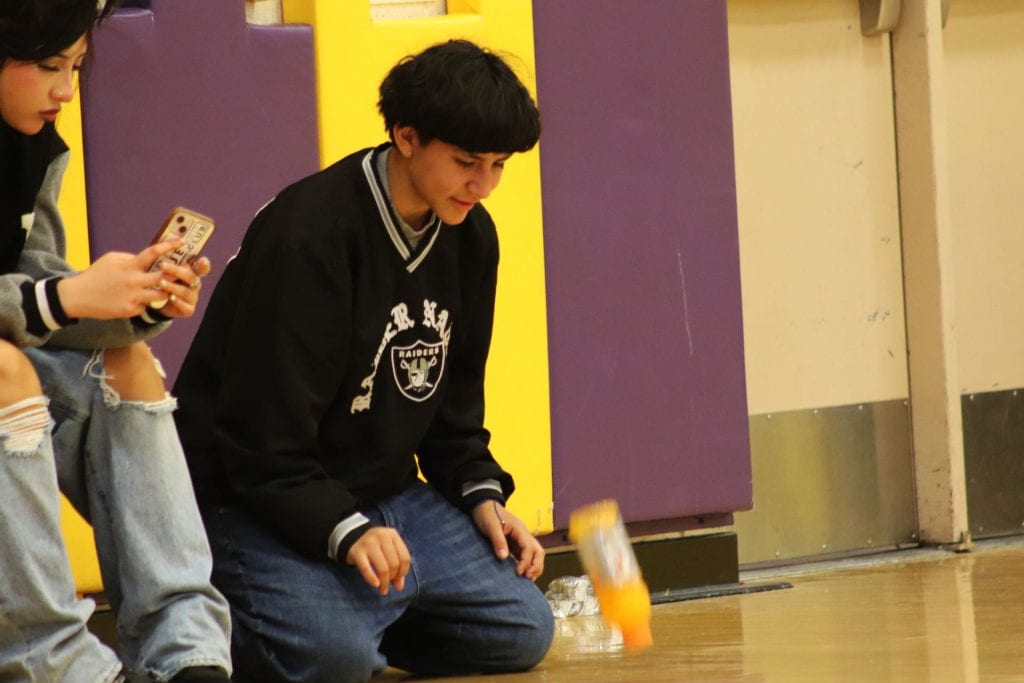
This girl is doing a bottle flip during PE.

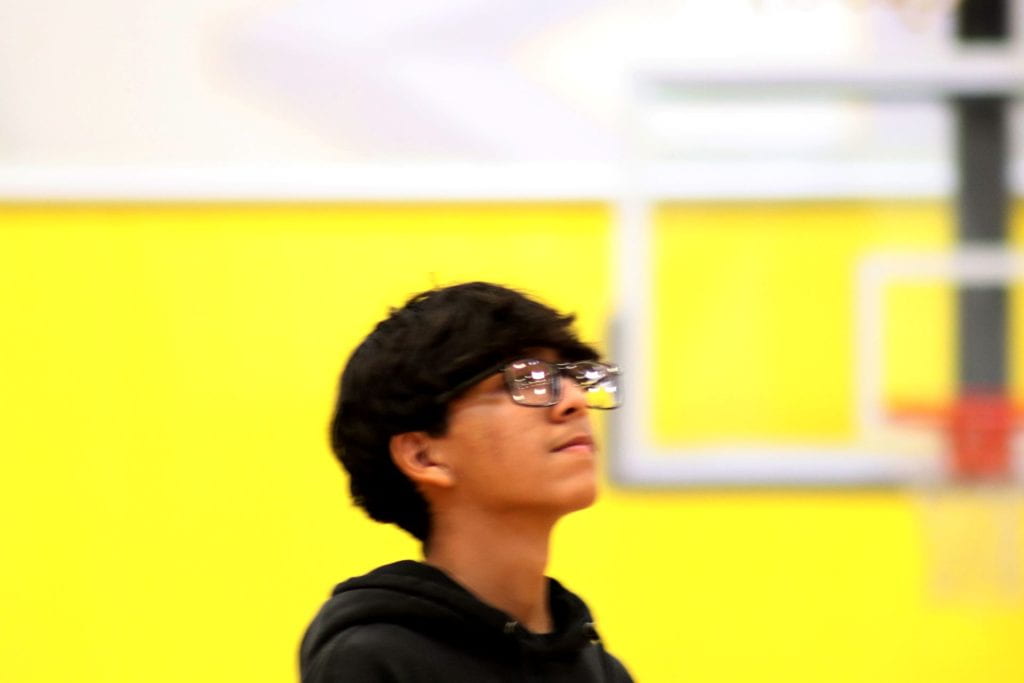
This photo is very noticeably blurry but I like it especially the moment he is looking at a volleyball in the sky.


Intro to strobes.

Light sources

Professional studio light sources generally fall into one of two categories: you can get a kit with a flash head and a power pack, or you can get a monolight kit.

A head and power pack kit consists of the flash head and a small power pack that acts as the generator that supplies energy to the flash head. The flash head contains flash tubes that emit light once supplied with high voltages.

There are two kinds of power packs: symmetric power packs and asymmetric power packs. Symmetric power packs split power equally between multiple flash heads. Asymmetric power packs allow the user to vary the power supply to different flash heads.

Monolights, on the other hand, are compact substitutes for a power pack/flash head combination. Their size limits their power, but they are often desired for their portability.


Having all the controls on the power pack makes it easier to change the settings of multiple flash heads in one place quickly. Monolights come with the controls built directly into the light itself. So, if you have multiple monolights, you’ll need to control and adjust the settings of each one separately. Head/power pack kits also offer faster flash durations than monolights, which can really come in handy when you want to freeze action during fast motion. They also have faster recycled times.

If you’re shooting outdoors or with complicated modifier setups, you are going to need a lot of power to overcome the sun, or the light loss caused by the modifiers. Head/pack systems have a big advantage in the power department. Whereas, if you’re shooting indoors or inside your studio, monolights will probably be more than enough for regular work.

With each option, you can find equipment prices that vary widely. Be sure to also check out used gear, as you can often find good deals on lighting kits that can serve you well. Whichever you choose, keep in mind that the most durable equipment is made mainly of metal rather than plastic.

Most lights, regardless of the brand or model, provide heads that come in the form of a strobe surrounded by a reflector. Some, like the Profoto Acute/D4 flash heads, come with a zoom reflector which slides and locks at your chosen position allowing you to further control the spread of light. Their zoom reflector, like many others, provides the ability to attach a honeycomb grid for an even more focused spread, or other kinds of light modifiers used for different effects.


If your flash head does not come with a zoom reflector, you can find many types of wide or narrow reflectors sold as accessories. Wide reflectors produce a larger pool of light and a softer light quality, narrow reflectors produce smaller pools of light and a harsher light quality.

Most strobe lights allow you to completely remove the reflector and attach different kinds of light modifiers.

Link to best-selling monolights on Amazon

Light modifiers

The most common types of light modifiers are umbrellas and soft boxes.

Reflecting umbrellas produce a diffused and soft light due to the larger size of the reflecting surface. They are mounted in such a way that the strobe light is actually facing away from the subject or model. Light flies from the strobe head hitting the inside of the umbrella and then bounces back towards the subject.

There are silver-lined, white, and gold tinted umbrellas. Silver-lined umbrellas are the most efficient and can focus light more narrowly than the other types. White umbrellas offer a wider spread of reflected light, and gold umbrellas produce a warm tone.


Soft boxes on the other hand are usually square or rectangular. They are lightweight boxes that come with a reflective inside and a translucent front. Soft boxes come in different shapes and sizes and are attached to the front the strobe over the light source. Light emitted from the strobe head gets reflected inside the walls of the soft box and diffused through the box’s translucent front creating a soft, but more focused light source illuminating the model or scene.


The difference between reflecting umbrellas and soft boxes is that the spread of light with a soft box is more contained. With an umbrella on the other hand, light can spill beyond the boundaries of the reflective surface affecting the amount of light getting back to the subject. Spilled light can also hit walls and ceilings indoors causing it to reflect and bounce all over the place. An umbrella simply isn’t as controllable as a soft box.

Some other tools that control and modify the quality of light are barn doors, snoots, and honeycomb grids. These are attached directly to your strobe head by mounting to the reflector that comes with (or is bought for) your strobe, as discussed above.

Snoots are conical shaped tools that narrow the distribution of light. These can be used to produce a very focused, harsh light. They are often used like a spotlight or to light the background. They are also very handy as a rim or hair light to illuminate the model from the back.

Barn doors are flaps surrounding a strobe that can be opened or closed to control the light and prevent it from spilling. They don’t produce a concentrated and direct light like snoots, but they can come in handy depending on your needs.

Honeycomb grids, as the name suggests, are basically honeycomb shaped metallic grids that direct the light for a more focused spread. These come in different degrees. The smaller the grid cells the tighter the holes through which the light travels, and in turn the more focused the light becomes.

Flags are another type of light modifiers. A flag is any kind of opaque object placed in the way of light to better direct it, to prevent lens flare or to prevent it from spilling. A semi-translucent flag is called a scrim and is used to cut down on light spill.


Link to best-selling reflectors on Amazon

Link to best-selling photography umbrellas on Amazon

Link to best-selling flags on Amazon

Link to best-selling soft Boxes on Amazon

Link to best-selling barn doors on Amazon

Grips and stands.

Stands and grips are used to support your light sources, strobes, and even light modifiers or backdrops.

There are two main types of light stands: lightweight stands and C-stands which are more heavy duty. Both types come in varying sizes, lengths, and prices. Heights can usually be adjusted. Sandbags can also be attached to weight the stand and better stabilize your lights.

When you shop for a lightweight stand, the ones with an air-shock are superior. The extra few bucks you pay will go a long way in protecting your expensive lights when you accidentally loosen a knob. The air-shock will soften the fall of your light, minimizing or even eliminating any damage. Also, make sure you get one with a wide footprint (meaning the legs of the stand spread far apart) so that your setup is stable and doesn’t fall over.

You can get a good lightweight stand for around 70 bucks.

C-stands are very good, but they come at a price. They are heavy duty and very stable. C-stands typically don’t have air-shocks, so you need to pay attention while loosening your knobs, so you don’t harm your gear.

C-stands are frequently used in the video industry due to their durability and stability. They can come with a number of attachments like boom arms that can be mounted onto the stand. These arms allow you to add reflectors, scrims, flags and other modifier and rotate them to any angle you wish.

The c-stand is strong enough to hold backgrounds and seamless white paper in addition to lights. They are also very useful when you’re shooting outdoors in windy conditions because their weight adds to their stability. You can get a c-stand with an attachments kit for less than 200 bucks, sometimes far less.


Advertising

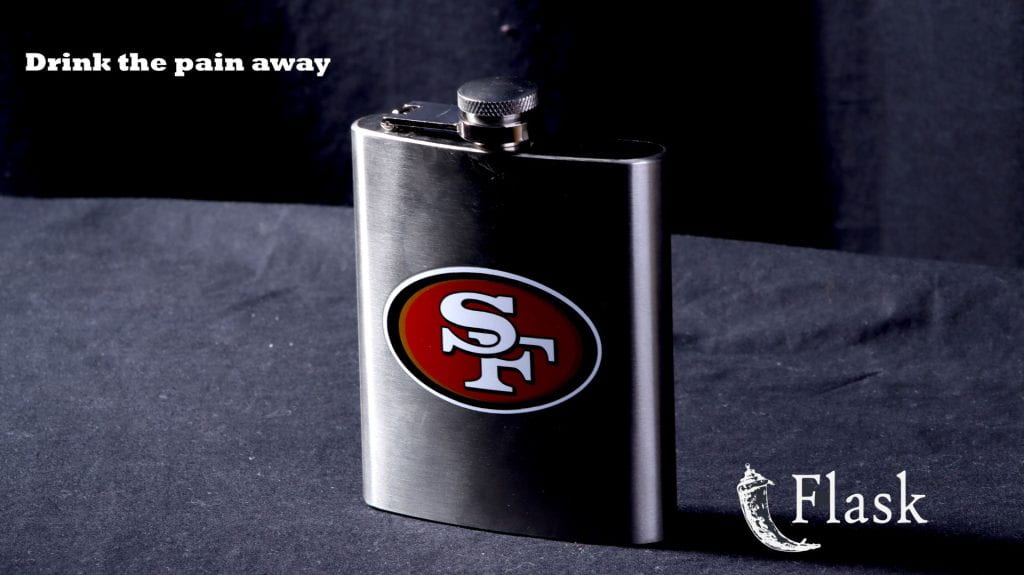
  1. The company I am representing is Flask.
  2. The product is a flask.
  3. My target audience are adults.
  4. I expect to see this ad on a billboard or a banner on a website.
  5. The type of lighting i would use is strobe light box.
  6. The props I needed was a flask.

Monochrome

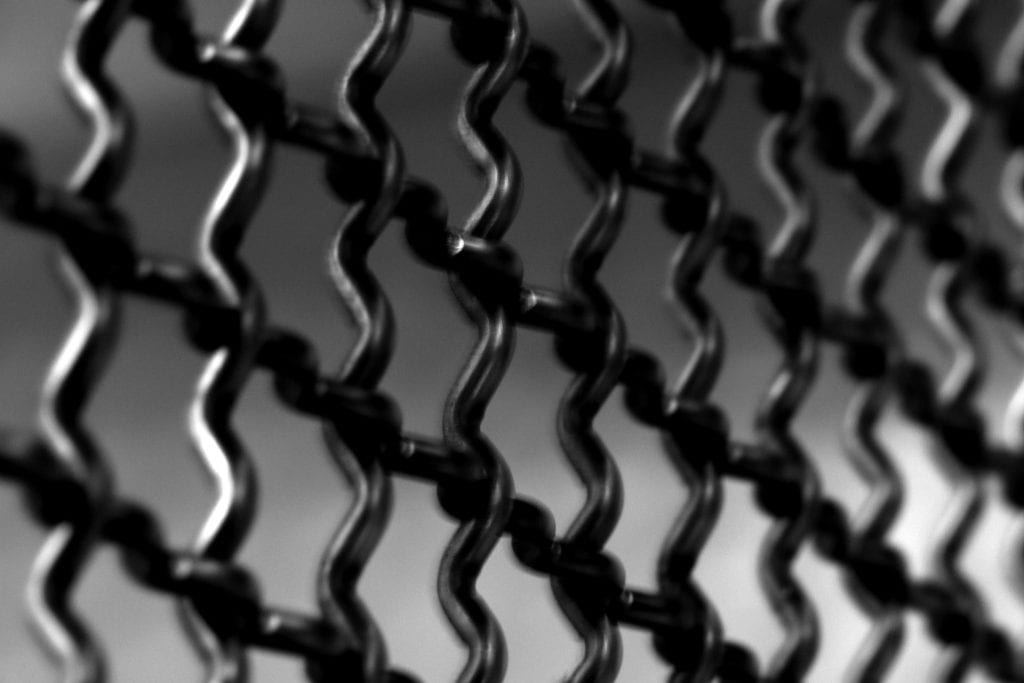
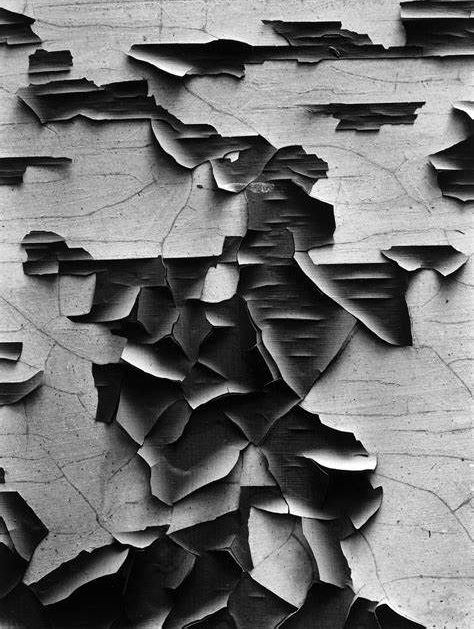
M, 1/5 sec, f/13, ISO 640, 135.00mm

This photo looks very weird in a good way it looks like many different thing one thing is a wall wallpaper. Another thing is many shreds of paper. I like this photo because it is very confusing to me.


Conceptual Self Portrat

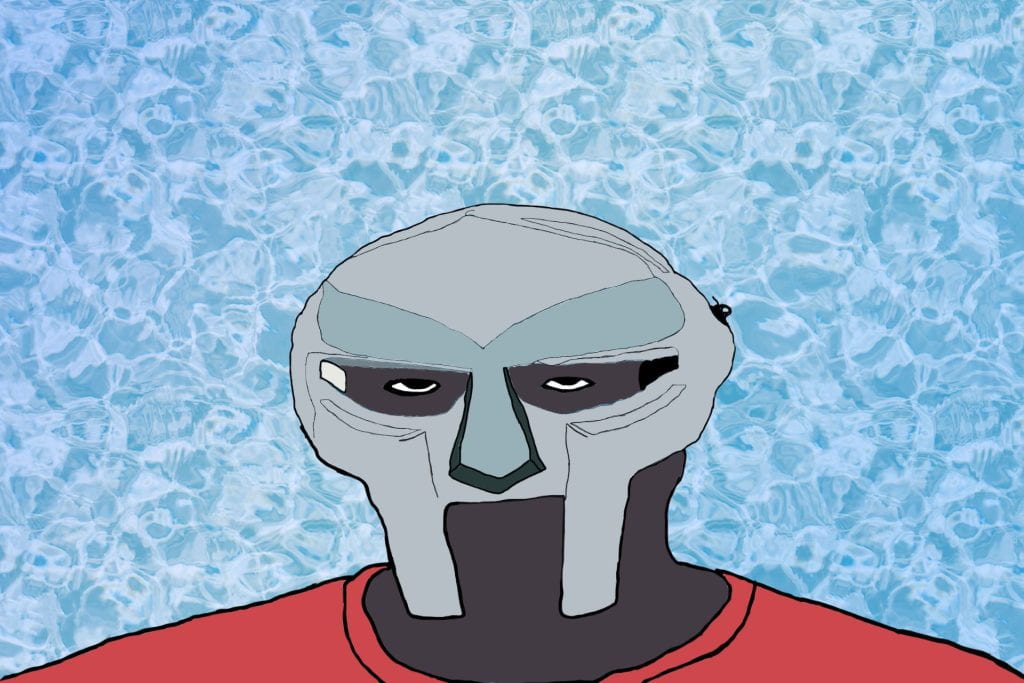
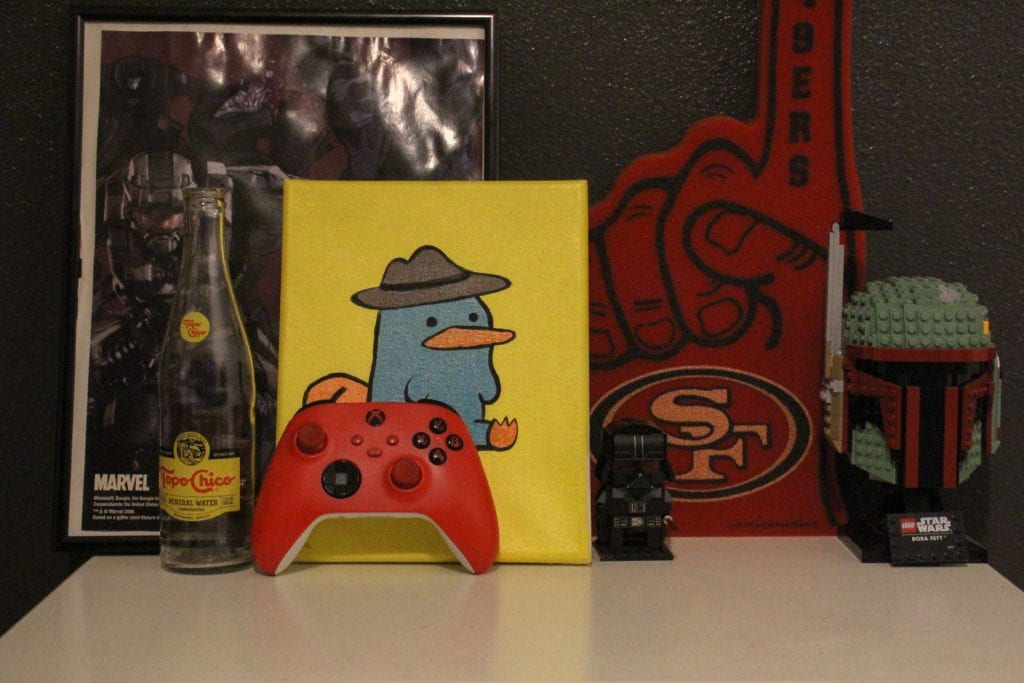
This photo represents me because it shows what things I like, for example I like Legos because it is fun to build them, my favorite cartoon show is Phineas and Ferb, my favorite is drink is Topo Chico’s, I like to play videogames and my favorite video game is Halo.


Raw vs. Jpeg

  1. What is the difference between JPEG and RAW files?

-A Joint Photographic Experts Group (JPEG) file is a lossy raster file format that compresses an image to make the file smaller.

-A RAW file contains all the uncompressed and unprocessed image data captured by the sensors of a digital camera or scanner. They’re also a type of raster file format, but one that maintains lossless quality.

2. Which file is bigger? JPEG or RAW files?

-The file that is bigger are RAW files, RAW files are large since they are meant to be able to get the best quality of it so people can edit them to the best they can.  JPEG files are smaller since they aren’t used to

capture the best quality of the pictures so therefore they don’t need as much storage to contain it in.

3. Can you change a RAW file to a JPEG file once uploaded to the laptop?

-You can and all you need to do is just save the RAW file in an editing software and once then change the file into a JPEG file and from there it’ll keep the quality but in a shorter file and along with the information with it.

4. If I was taking a photo of an important event, I would choose RAW.  The main reason why I would choose RAW is because, even though it’s a larger file and everything, it’s an important event, why would I miss out on details and stuff for the picture? also the quality of RAW is larger, so I would be able to see the photo with much clearer quality and make sure I go the important thing aside from something that I don’t need.


Pop Art

Andy Warhol Artworks - Life and Paintings of Pop Art Icon

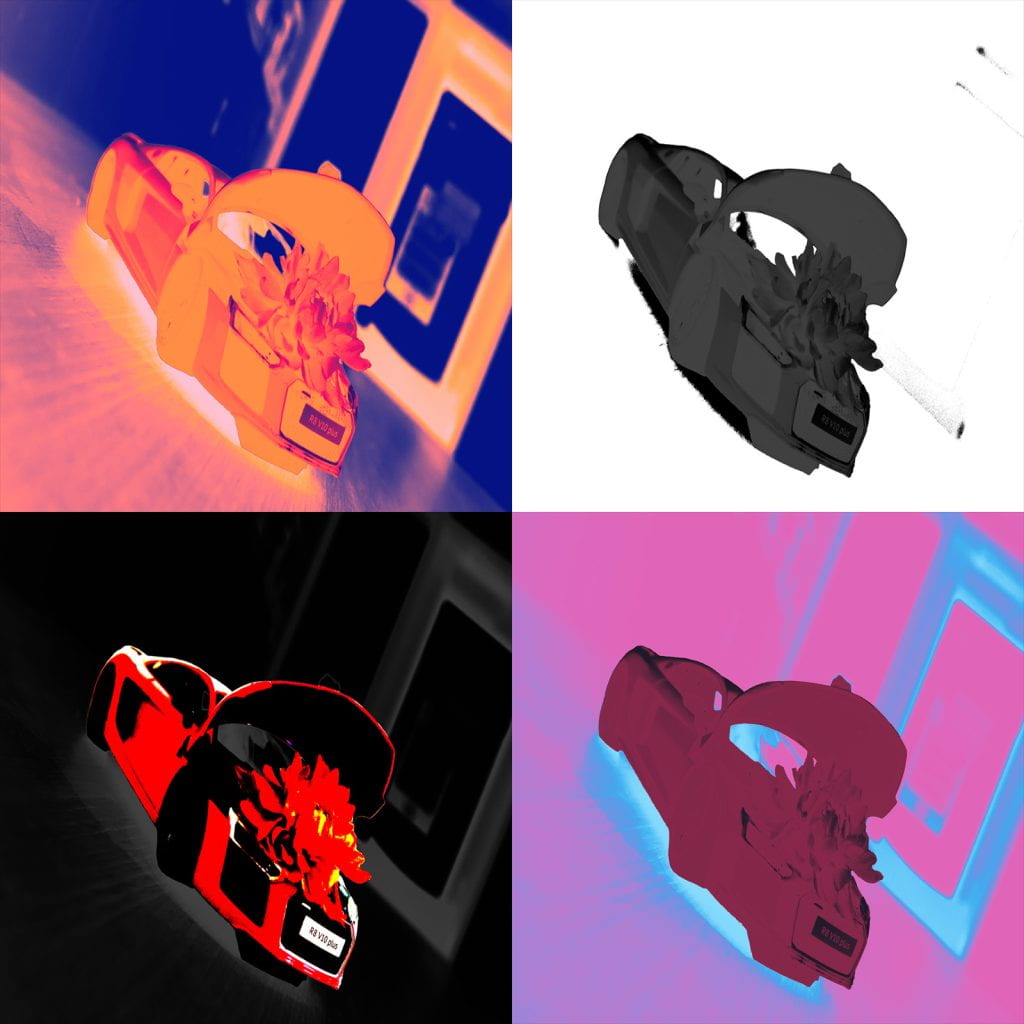
  1. Pop art is when pop artists used objects from popular culture, such as comic strips, soup cans, and advertising, as their inspiration or part of their work
  2. Andy Warhol made Pop Art.
  3. Andy Warhol’s work is very bright and colorful.
  4. I picked him because he created pop art.